
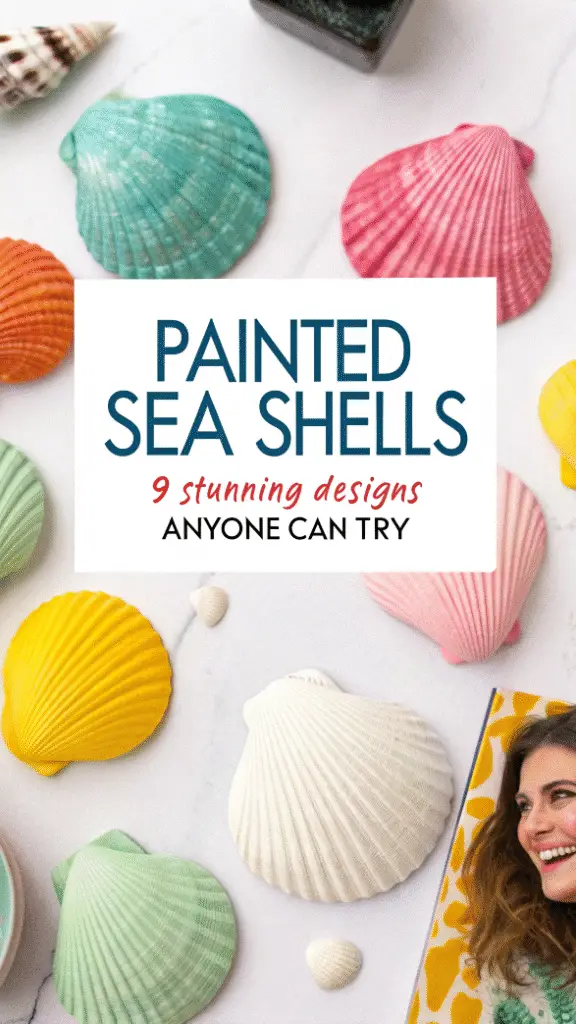
Painted Sea Shells
Looking for a fun, relaxing, and surprisingly beautiful craft to do at home? Painted sea shells might just be your new favorite DIY obsession. They’re budget-friendly, easy to personalize, and perfect for every skill level—from kids with watercolor sets to adults with a paintbrush and Pinterest board. Whether you’re decorating for summer, crafting with your kids, or just want something peaceful to do on a rainy afternoon, this project checks every box.
I started painting shells one summer with my niece during a beach vacation. We came back with a bucket of plain shells and transformed them into tiny works of art. The best part? We used things we already had: nail polish, acrylics, glitter glue, even stickers. Each shell became a keepsake.
Painted sea shells are a great way to bring a bit of the ocean home. They’re simple, sentimental, and stunning. Plus, they cost next to nothing to make! Just like our popular DIY Pressed Flower Frames project, this craft lets you create something timeless using natural elements.
Ready to turn those seaside souvenirs into coastal treasures? Let’s dive in!
What is Painted Sea Shells?
Ever wanted to create something beautiful out of nothing? Painted sea shells are the perfect example. It’s exactly what it sounds like: you collect sea shells (or buy a pack from the craft store), give them a gentle clean, and decorate them however you like. Who knew a little glue and imagination could go this far?
This DIY idea was inspired by a last-minute need for party favors. I remembered how we used to paint shells as kids, and just like that, a forgotten favorite was reborn. As the saying goes, “The best things in life are handmade.”
So why not try it yourself? Whether for decor, gifts, or just pure creative fun, painted sea shells are a joy to make.
Why You’ll Love Painted Sea Shells
- They Add Charm and Style: Painted sea shells can transform any space with a touch of coastal charm. Add them to a bowl as table decor, string them for a beachy garland, or use them as place cards at a summer dinner party. They’re whimsical, warm, and wonderfully nostalgic.
- Wholesome, Hands-On Joy: There’s something satisfying about crafting something with your own hands. Whether you’re painting solo with a podcast on or gathering the family for craft time, it’s a fun way to relax and connect.
- Affordable and Customizable: No need for fancy supplies! A few paints, brushes, and some imagination are all it takes. You can keep it simple or go all out with metallics, glitter, and hand lettering.
It’s just like our “Mason Jar Luminary” tutorial—charming, low-cost, and completely customizable. So grab a shell (or ten!) and give it a go.
How to Make Painted Sea Shells
Quick Overview Painting sea shells is a fun, low-pressure project that takes less than an hour (plus drying time). You can make anything from minimalist designs to colorful masterpieces. All it takes is a handful of materials and a little creativity.
What You’ll Need:
- Clean sea shells (collected or store-bought)
- Acrylic paint (various colors)
- Small detail brushes and sponge brushes
- Mod Podge or clear sealant
- Palette or paper plate
- Cup of water for rinsing brushes
- Optional: glitter glue, metallic pens, nail polish, stickers
Step-by-Step Instructions:
- Clean Your Shells – Soak in warm, soapy water, scrub gently with a toothbrush, then dry completely.
- Plan Your Design – Sketch on paper first or just freestyle! Think flowers, mandalas, patterns, or ombre shades.
- Paint the Base Coat – Apply one or two base layers of paint, letting it dry between coats. A white or light pastel works great for background.
- Add Your Details – Use fine brushes to add patterns, shapes, or accents. Mix textures—matte, shimmer, or even chalk paint.
- Seal Your Art – Once dry, brush or spray on a clear sealant to protect your design and give a slight gloss.
- Let Dry and Display – Give shells at least 24 hours to cure before handling or placing outdoors.
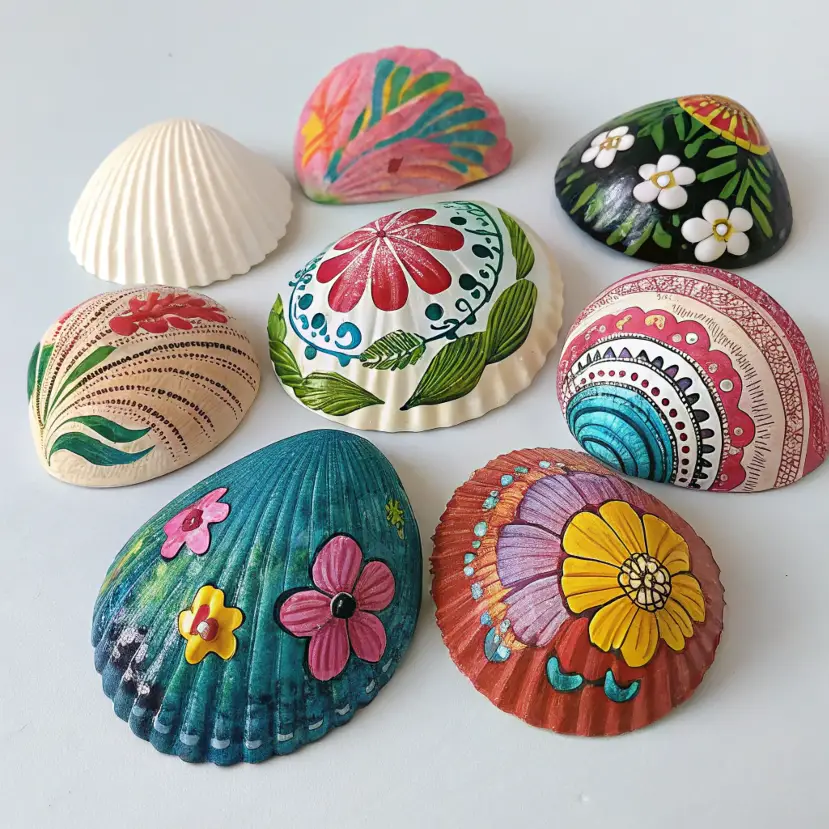
9 Stunning Painted Sea Shell Designs to Try
Ocean Ombre – Blend ocean blues and aquas for a wave-inspired look.

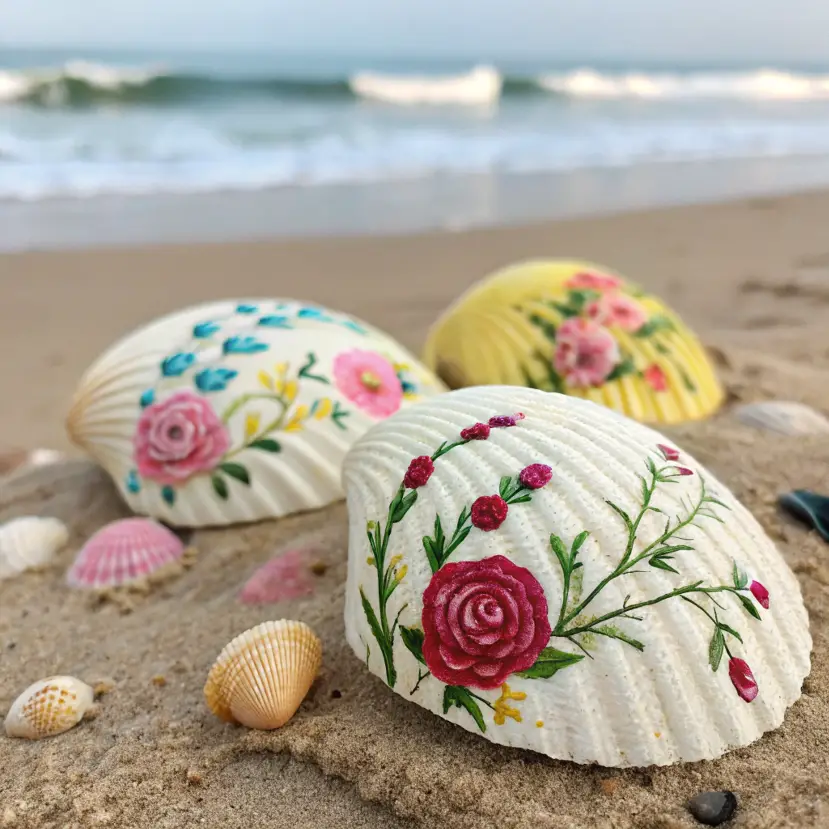
Floral Delight – Paint tiny flowers, vines, or roses for a garden-on-the-beach vibe.
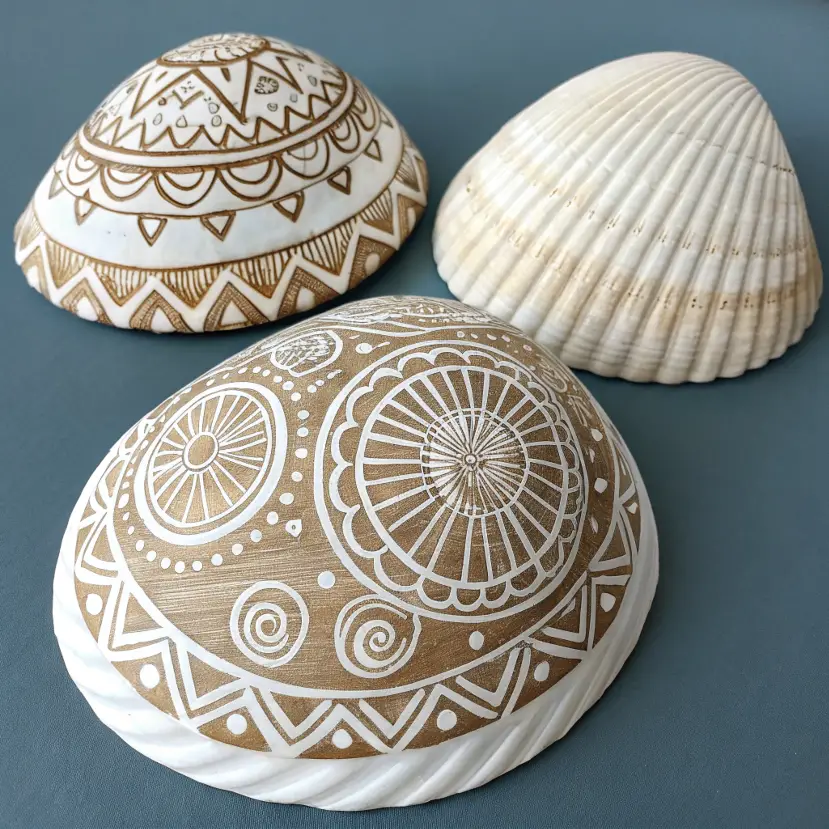
Boho Mandala – Use white paint pens to draw geometric mandalas on a solid background.
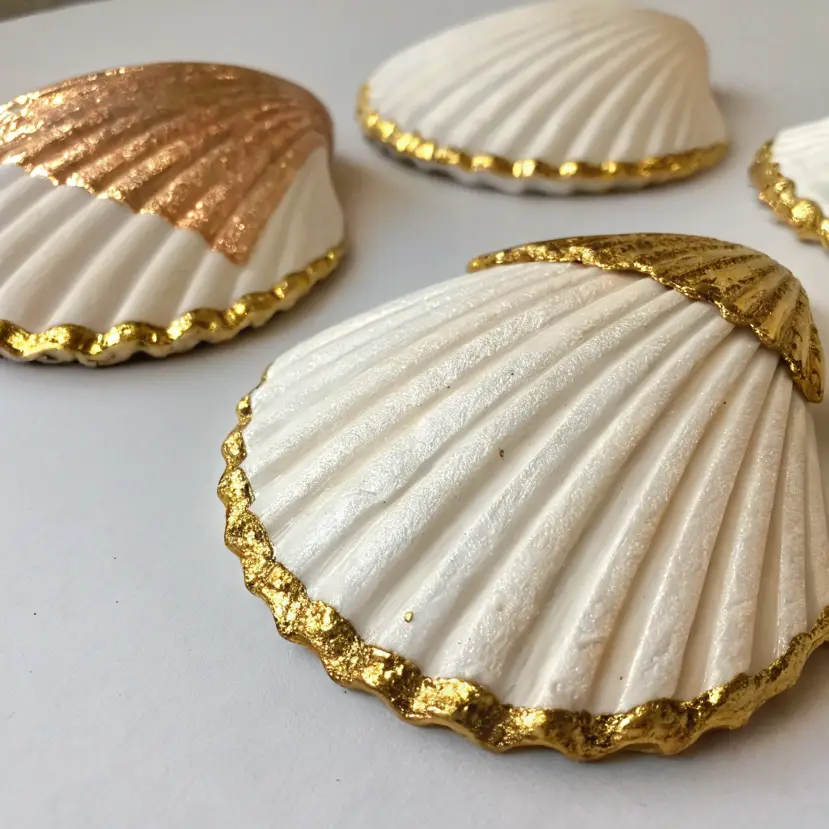
Gold-Dipped Edges – Paint shells a neutral tone, then add a touch of metallic gold to the edges.
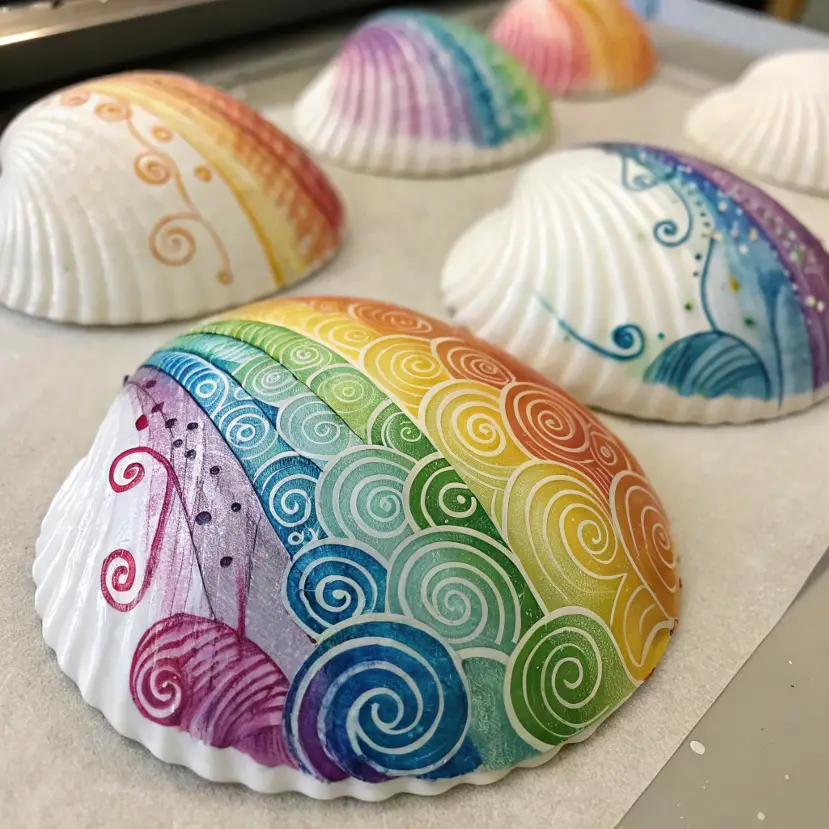
Rainbow Swirl – Create colorful swirls using watered-down acrylics or alcohol inks.
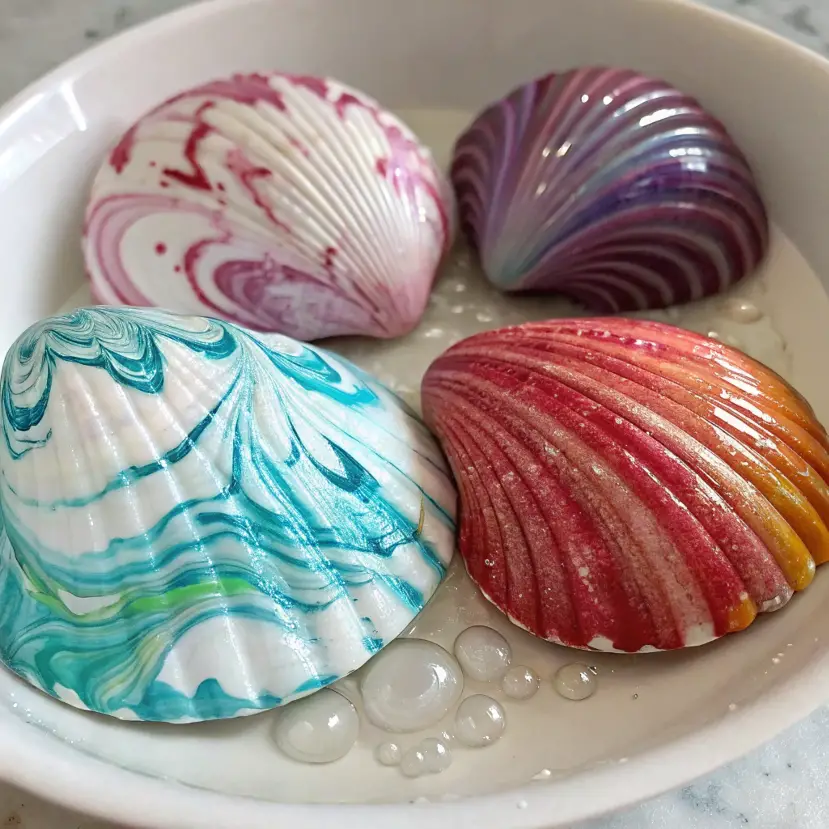
Marbled Magic – Dip shells in nail polish water for a cool marbled finish.
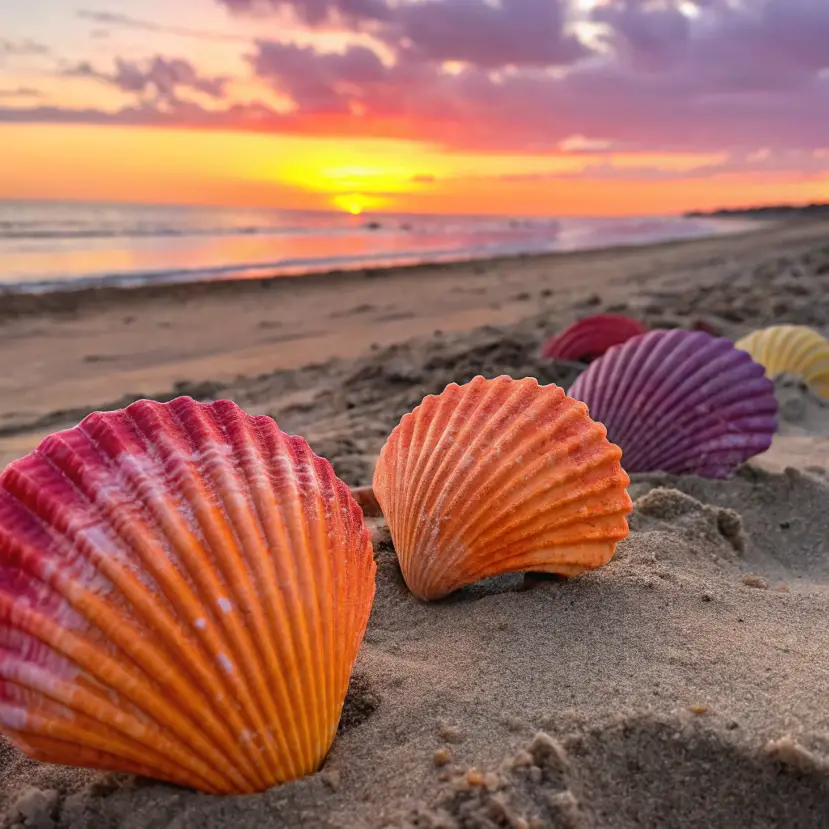
Sunset Gradient – Use warm tones like orange, pink, and purple to mimic a beach sunset.
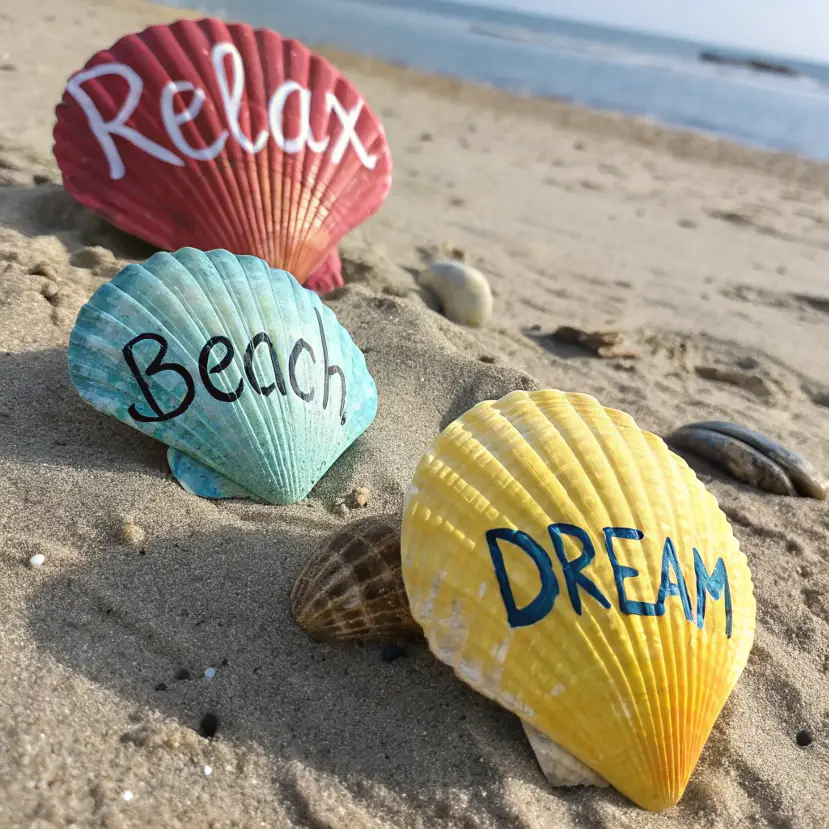
Beach Words – Write words like “relax,” “beach,” or “dream” using fine-tip brushes or paint pens.
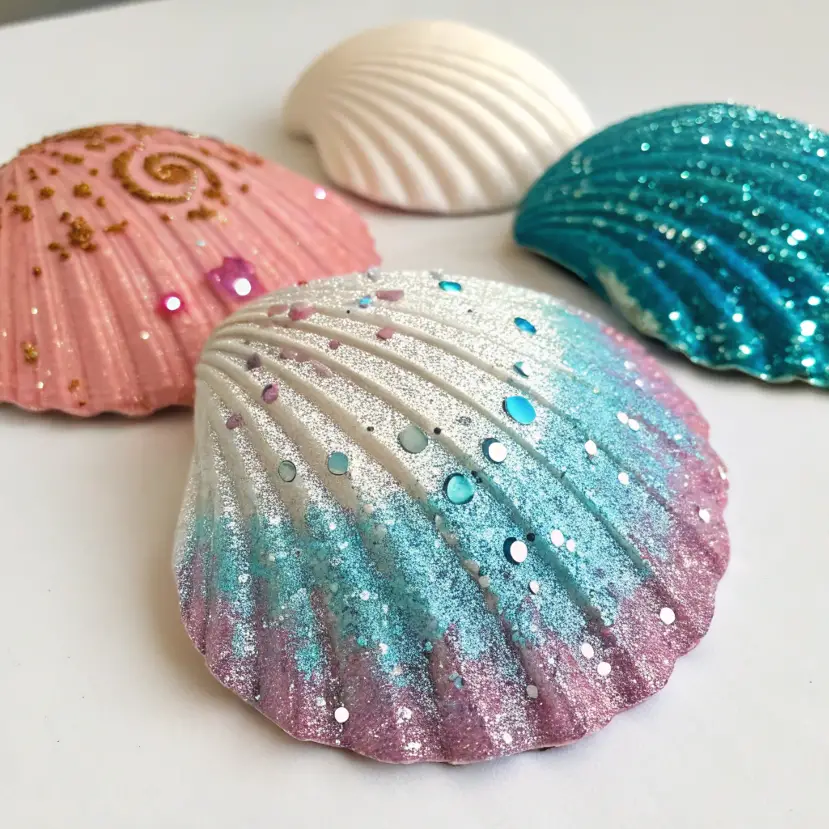
Glitter Glam – Apply glue in patterns and sprinkle glitter for a sparkly finish.
What to Pair Painted Sea Shells With
Pair your finished shells with other beach-themed or seasonal crafts! Try:
- DIY driftwood frames
- Hand-poured ocean candles
- Nautical rope coasters
- Shell-themed greeting cards
- Beach-themed gift boxes
They also make adorable add-ons to wrapped gifts or can be used as table confetti for a seaside-themed party.
Top Tips for a Successful DIY Experience

- Set up a craft mat or newspaper to catch paint spills
- Keep baby wipes or damp cloths nearby for quick cleanup
- Use toothpicks or Q-tips for tiny details
- Let kids use washable paint or markers
- Don’t stress perfection—imperfections make them charming!
- Group by color theme for a cohesive collection
Remember, it’s about the process as much as the result. Put on some music, sip something summery, and enjoy the creativity.
How to Store, Share, or Gift Your Creation
Painted sea shells make lovely gifts, favors, and keepsakes. Here’s how to enjoy and share them:
- Gift Ideas: Package in small mesh bags or mason jars with a tag.
- Home Display: Arrange in glass bowls, on a windowsill, or glue to a picture frame.
- Seasonal Decor: Add them to wreaths, centerpieces, or holiday ornaments.
- Storage: Keep in a box with tissue or bubble wrap to protect delicate designs.
For long-term care, avoid placing them in high-moisture areas, and reseal with Mod Podge if the gloss fades.
Crafting with painted sea shells is a delightful way to preserve memories, get creative, and decorate on a dime. Whether you’re painting for fun, gifting from the heart, or decorating your home, these tiny treasures offer big impact. So, grab your brushes and start painting—your next favorite DIY might be hiding in a shell!
you can see more about Fun Summer Crafts: Best DIY Projects for Teens