
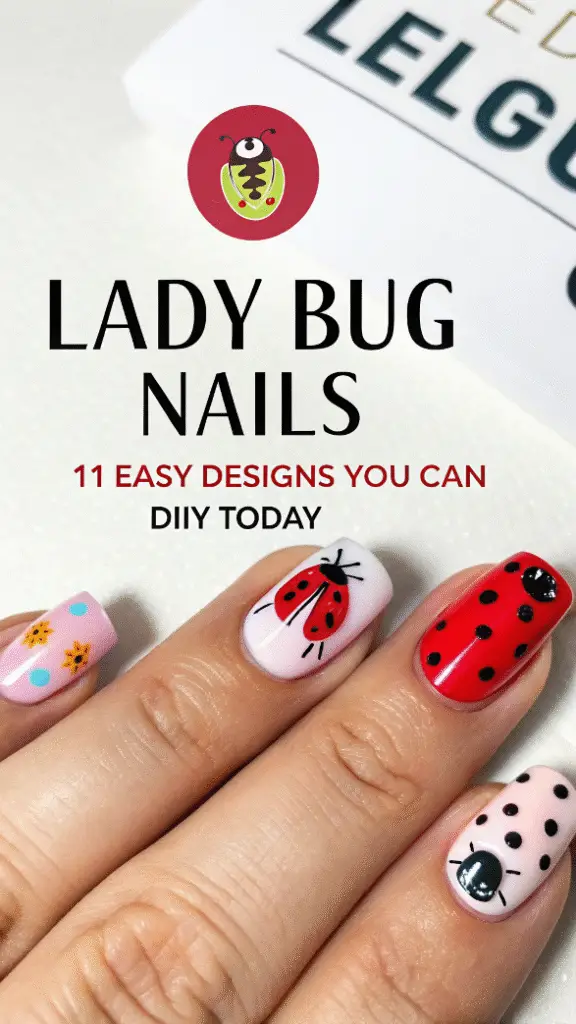
Lady Bug Nails:
Looking for a playful, eye-catching manicure that’s fun to wear and even more fun to create? Say hello to Lady Bug Nails: 11 Easy Designs You Can DIY Today—the perfect mix of cute, creative, and classic. With their signature red-and-black color combo, dotted designs, and whimsical vibe, ladybug nails are making a bold comeback on Instagram and TikTok feeds everywhere. Whether you’re a DIY nail art newbie or a seasoned nail lover, this cheerful style is one you’ll want to try ASAP.
Did you know that ladybugs are seen as good luck in many cultures? That makes this nail look not only adorable but also full of feel-good energy—ideal for days when you need a little boost. Plus, you can customize the look to suit your mood: go full glam with glitter wings, or keep it minimal with a single accent nail.
Unlike more intricate designs like marble nails or 3D chrome, Lady Bug Nails: 11 Easy Designs You Can DIY Today are incredibly beginner-friendly. You only need a few simple tools and polishes to get started. And if you’ve loved our recent post on “Red Heart Nails for Valentine’s Day,” this is another charming red look you’ll want to try all year round!
Let’s dive into everything you need to know to rock the cutest bug-inspired mani ever. 🐞✨
What Are Lady Bug Nails?
Ever wonder where the name “lady bug nails” comes from? As you probably guessed, it’s inspired by the adorable little red-and-black beetles we all know and love. These nails typically mimic the insect’s dotted shell, bright red color, and sometimes even its tiny antennae!
This design started gaining traction during spring nail trends on Pinterest and blew up thanks to nail art influencers recreating bug-themed looks during “cottagecore” season. It’s fun, nostalgic, and always turns heads.
So if you’re ready to try something fresh, cute, and totally Instagram-worthy, Lady Bug Nails: 11 Easy Designs You Can DIY Today might be your next mani obsession. Don’t forget to tag your version with #LadyBugNails—because we’d love to see how you style it!
Why You’ll Love This Lady Bug Nails Look
1. It’s Bold, Bright, and Eye-Catching
Lady bug nails pop with their classic red base and black dot detailing. You can add a glossy top coat for that beetle-shell shine or go matte for a modern twist.
2. It’s Budget-Friendly and Easy to DIY
This design doesn’t require fancy nail art skills or expensive tools. All you need is a dotting tool (or even a bobby pin), red and black polish, and a little patience.
3. It’s a Playful Alternative to More Serious Styles
While chrome nails and minimalist French tips are gorgeous, lady bug nails offer a youthful, cheerful vibe. They’re especially perfect for spring, picnics, or just when you want something fun and fresh.
Lady Bug Nails: 11 Easy Designs You Can DIY Today
Now let’s explore 11 super cute and beginner-friendly ways to bring lady bug nail art to life. Whether you want something subtle or statement-making, there’s a design here for everyone!
1. Classic Lady Bug Accent Nail
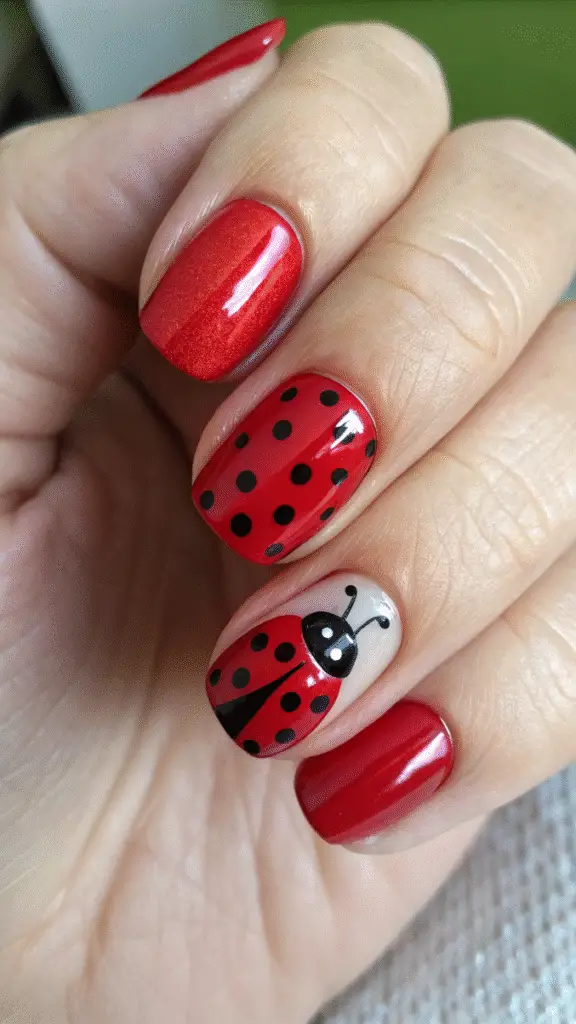
Paint all nails red and add a lady bug design on one accent nail. This keeps things simple but adds charm.
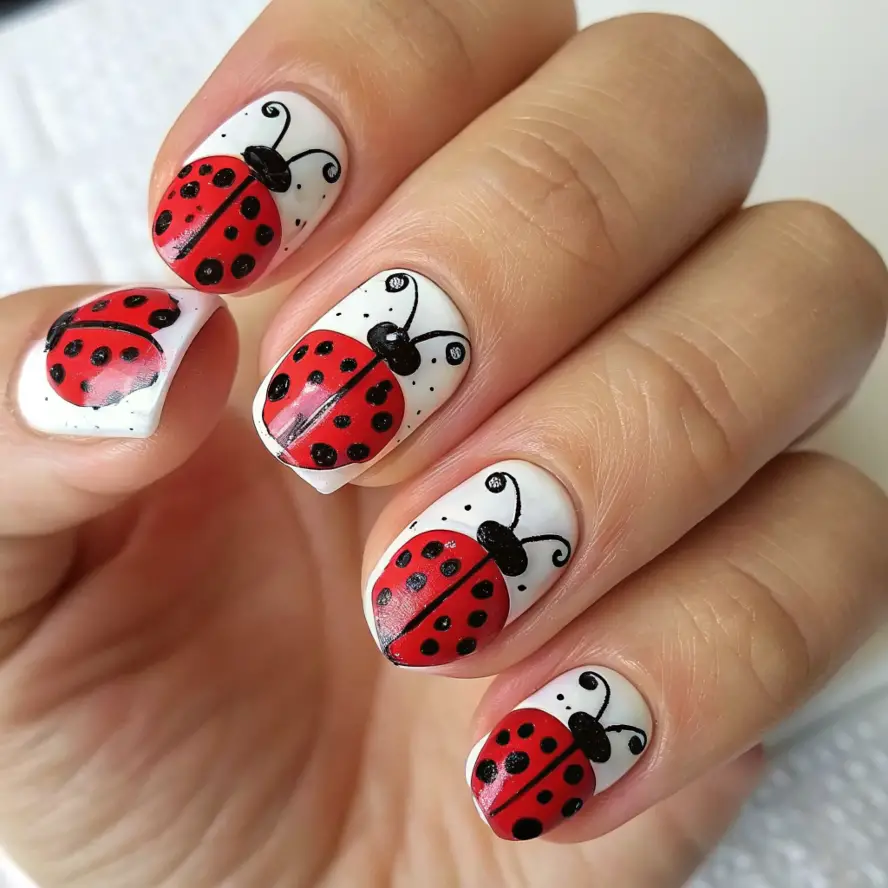
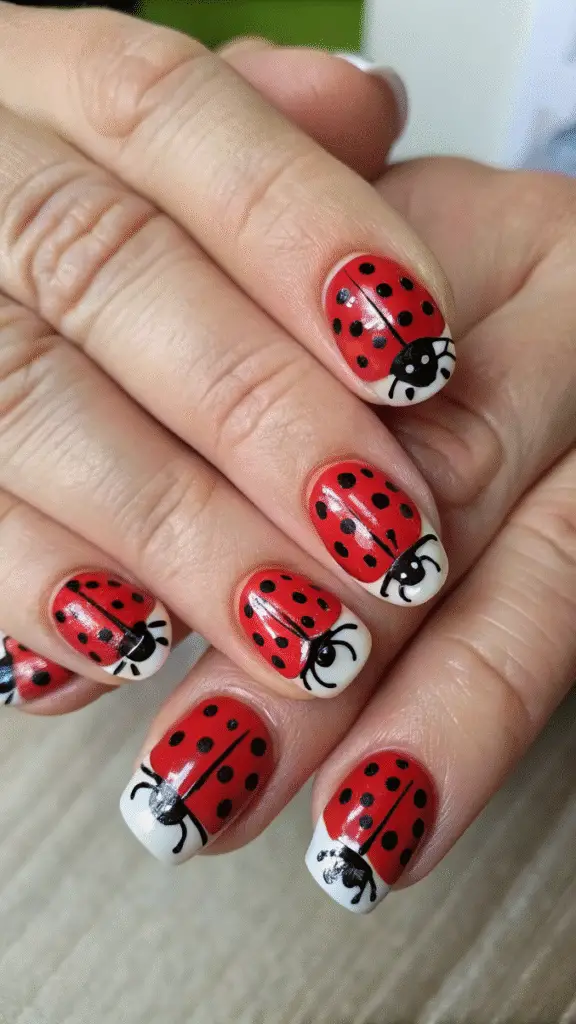
2. Full Lady Bug Pattern
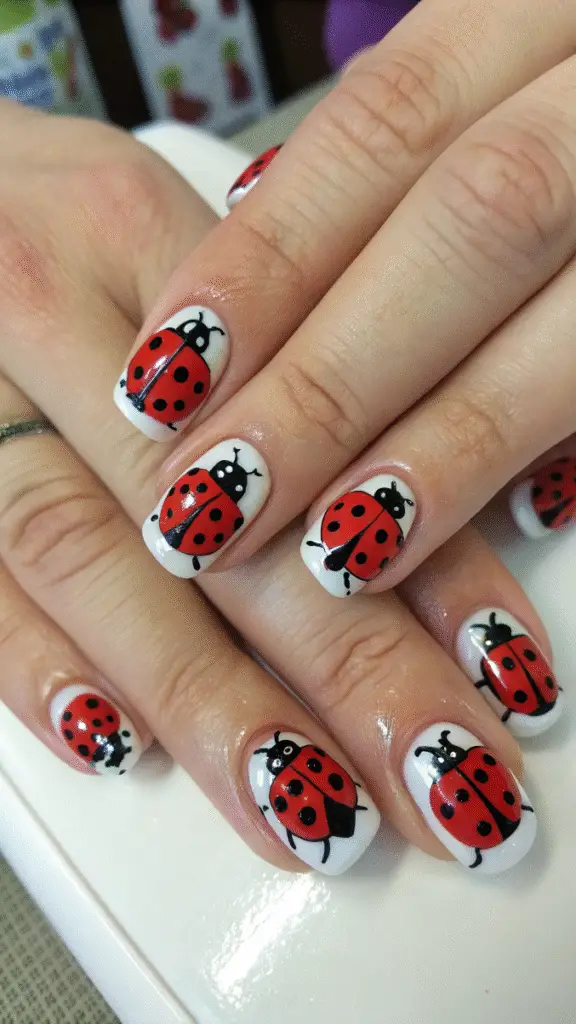
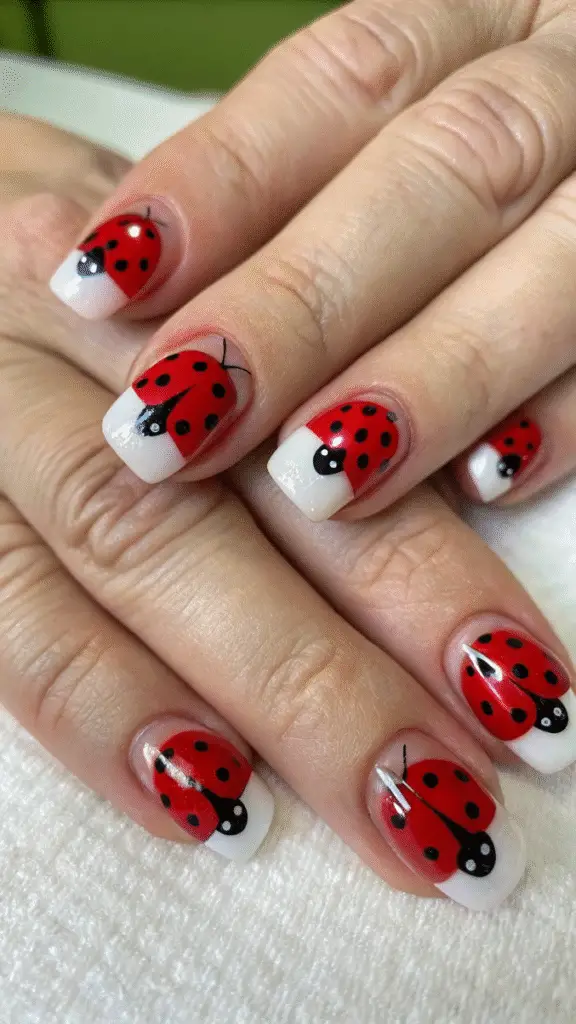
Cover each nail in the full design: red base, black line down the middle, black dots, and white “eyes” near the cuticle.
3. Mini Lady Bugs on a Nude Base
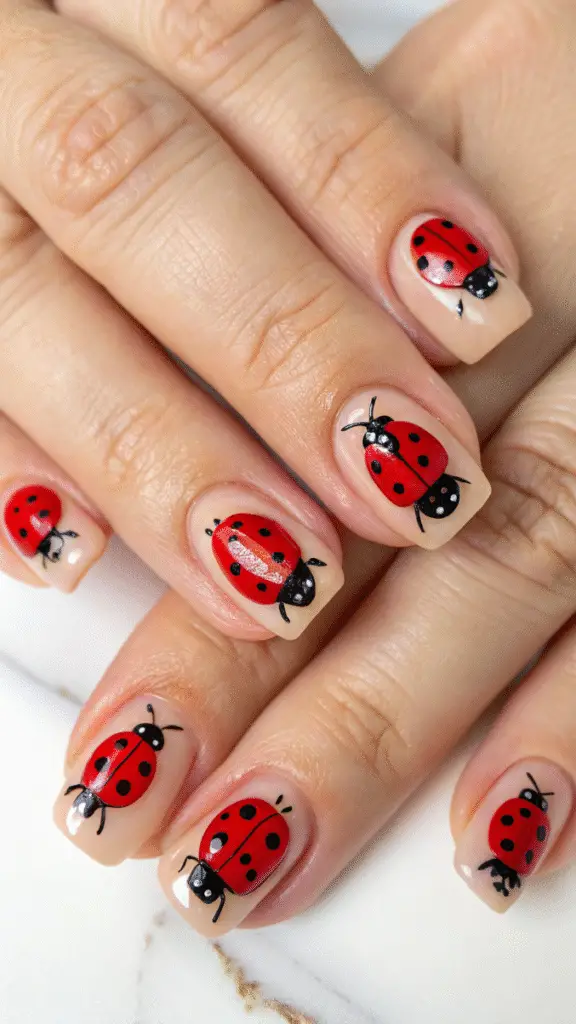
Tiny lady bug decals or hand-painted bugs over a nude or soft pink base for a delicate twist.
4. French Tip with Lady Bug Details
Add black and red lady bug dots over a classic or red French tip for a clean yet playful style.
5. Matte Lady Bug Nails
Use matte topcoat over your design for a modern, soft-touch effect.
6. Glitter Lady Bug Wings
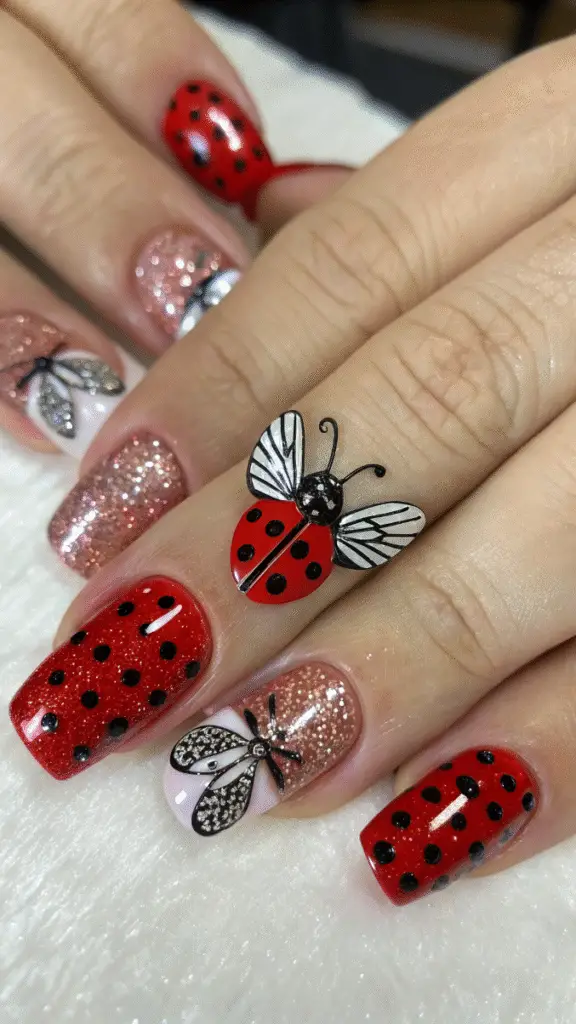
Swap standard red polish with a red glitter base for some sparkle. Add black dots on top.
7. Heart-Shaped Dots
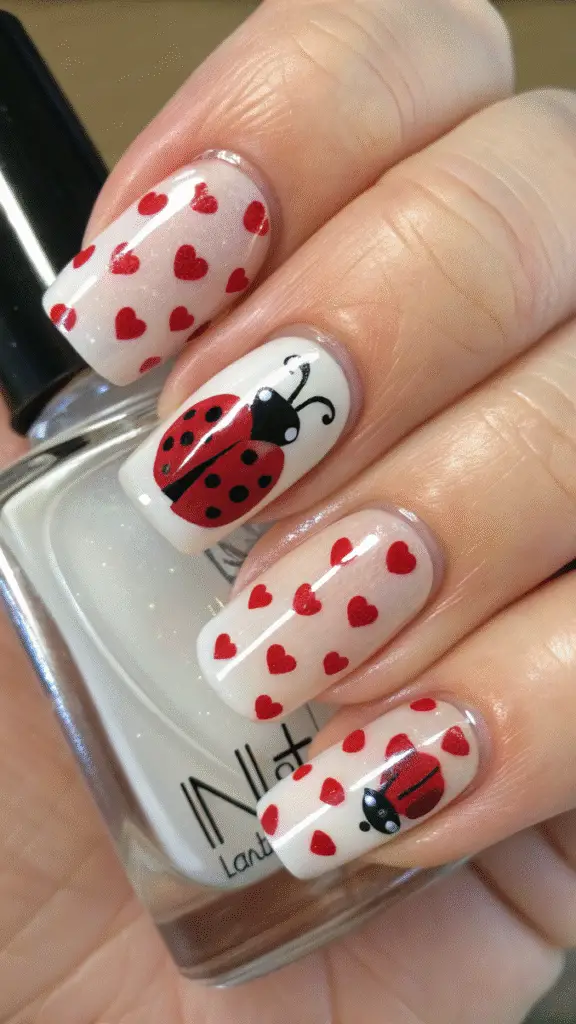
Add tiny heart-shaped black dots instead of circles for a romantic take on the look.
8. 3D Lady Bug Charms

Use nail charms or rhinestones to add a dimensional lady bug element to one or two nails.
9. Lady Bug French Fade
Do a red-to-clear ombré fade and top it with lady bug spots for a soft, gradient effect.
10. Mix-and-Match Bugs and Flowers
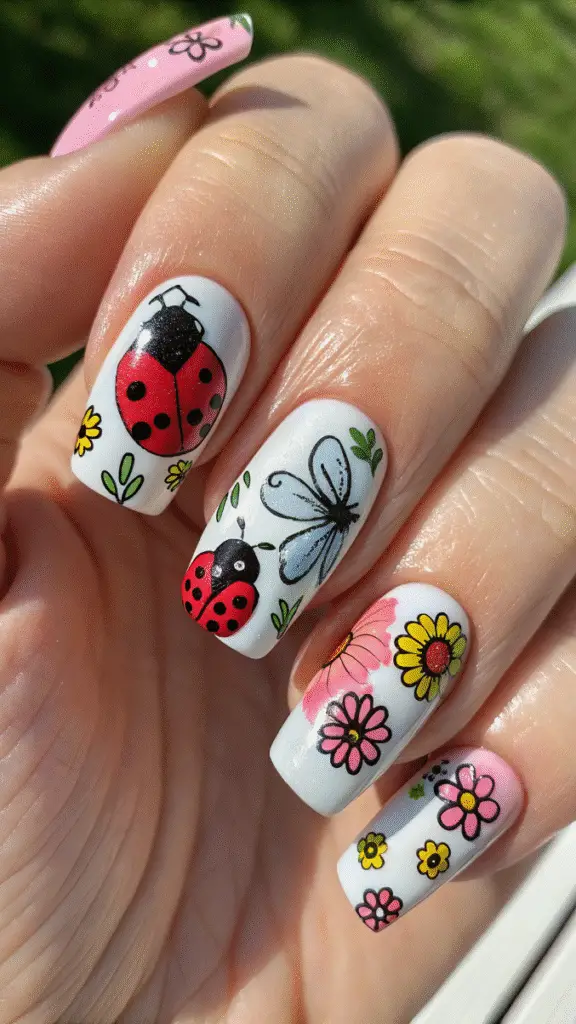
Combine lady bug nails with tiny daisy or sunflower designs on alternate fingers.
11. Black-and-White Lady Bug Twist
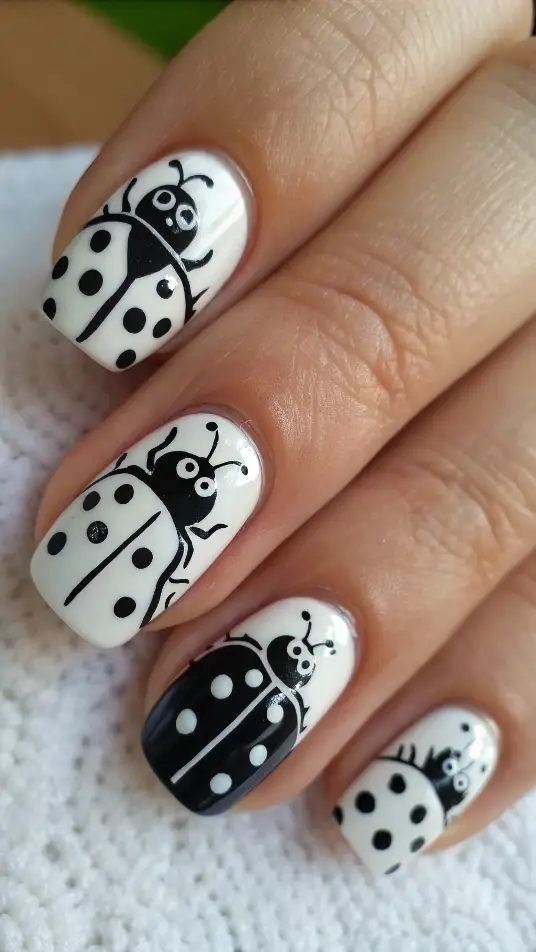
Use white instead of red for a high-contrast, monochrome version of the classic style.
How to DIY Lady Bug Nails at Home
Tools You’ll Need:
- Red, black, and optional white nail polish
- Dotting tool or bobby pin
- Thin nail art brush
- Base and top coat
- Nail polish remover and cotton pads
Step-by-Step Instructions:
- Prep your nails: Clean, file, and apply a base coat.
- Apply red polish: Paint 1–2 coats and let dry.
- Add black line and dots: Use a brush for the center line and dotting tool for spots.
- Optional eyes: Add two white dots near the base of the nail with black pupils.
- Seal with top coat: Glossy or matte depending on your preference.
Tips for Long-Lasting Lady Bug Nails
- Use gel polish for durability.
- Apply cuticle oil daily to keep nails hydrated.
- Reapply top coat every few days to prevent chipping.
- Be gentle with your hands—use gloves when cleaning or gardening.
Final Thoughts
Whether you’re going full-out or just adding a fun accent, Lady Bug Nails: 11 Easy Designs You Can DIY Today proves you don’t need a professional to get a show-stopping manicure. These playful, Pinterest-worthy styles are perfect for spring, summer, or anytime you want to add a pop of joy to your fingertips.
Ready to try them yourself? Grab your favorite red and black polishes and start dotting!
you can see more about Bright Summer Nails: 15 Vibrant Colors You Need